It happens all the time. You take your family on a trip and have the adventure of a lifetime.
You come back home and want to tell everybody about it! Or you want to make an album to be able to relive those amazing moments.
You go through all the photos on your smartphone…
To your disappointment, the photos simply don’t do justice to the adventure.
Don’t get me wrong. Taking great photos comes second to actually enjoying the trip. It is, in fact, rather challenging to find the balance between getting the perfect shot and simply enjoying the moment.
Still, after you take so much time deciding, planning, and packing for your upcoming trip, you wish you had something better to show for it.
Guess what? You do not need to be a professional photographer to get stunning family travel photos! In this article, I share some tips that, while basic, will make a huge difference in the result of your photos.
This post may contain affiliate links. Visit the Disclaimer page for more information.
Gear Up!
It all starts here, right? After all, like it or not, you will not be able to get great photos with a subpar camera.
You will need to splurge a bit in order to have good glass and processing power.
Fancy phone
I’m an Android person. When my last phone died prematurely late last year (and for no reason), I purchased the Google Pixel 3a. Despite being the budget version of the Pixel line, I simply LOVE it.
The photos I have been getting with this tiny machine are quite stunning, all thanks to the processing power of the phone.
Of course, the more popular iPhones have the reputation of taking amazing photos.
I will not be doing reviews on this subject, but if you are on the market for a new phone, then take a look at the best camera phones on the market this year!
Compact Camera
The next best option is to have a dedicated, small camera during your trip like this compact Sony RX100.
Why bother with a separate camera when phones can already do it all? There are five big reasons:
- It gives you the chance to keep your phone away while you are out exploring with your family.
- It eliminates the temptation to immediately post your photos on social media, potentially taking away time to be spent with your family.
- Saves your phone’s battery, which is important when traveling. You do not want to be left without the ability to call somebody or use the GPS.
- Dropping or breaking your camera would be bad, but it would be worse if you break your phone!
- The picture quality is simply better.
Without a doubt, there is the mild inconvenience of having to download photos from your camera. Most modern cameras nowadays, however, have WiFi connectivity that makes this process a breeze!
You can easily download photos to your phone, and use a free mobile photo editing program like Lightroom and edit your photos on the go.

Mirrorless or DSLR
Of course, nothing will come close in picture quality to a full-frame DSLR. The biggest disadvantages of DSLRs are the camera size and steep learning curves.
The smaller alternatives would be mirrorless full-frame cameras, although you will still need to deal with large lenses.
Crop factor cameras, such as those with APS-C sensors and Micro-Four-Thirds, are the middle ground between full-frame DSLRs and compact cameras. Not only are the camera bodies smaller, but lenses are also quite a bit more portable! Even though they have smaller sensors, you can still get amazing shots that are close to DSLR quality!
Related: 10 Best Hiking Camera Backpacks for Moms
Tripods are Great
If you have the space for tripods, they are great to have on family trips to get photos of the whole family. It eliminates the need to hand over your camera to a stranger. Also, selfies are much better than simply using a selfie stick or your extended arm.
That being said, I have not carried a tripod since having my son in 2015 for reasons that, I think, are obvious. Carrying a baby and a diaper bag is hard enough! You have to be very selective about the camera gear you can bring, as I explain in this article.
The alternative in those cases is to bring a small tripod for your camera (this is what I use) or for your phone (I have used this small tripod with included remote shutter).
Related: Best Gifts for Photographers
Let’s get a bit Technical
Don’t bother with Flash
A big mistake I see people doing all the time is using their on-camera or phone flash.
There are very few instances in which using flash actually improves the photo. The light from the flash is simply too harsh and unnatural to allow for a good image.
When it comes to flash photography, it is better to use a speed light that you can pivot and bounce off of a surface. The alternative is to use very good diffusers.
Is that something you want to be carrying around when going on family trips and adventures? Probably not.
The only time that using camera flash MIGHT be helpful, is to remove harsh shadows when shooting in broad daylight. You can also experiment when getting photos during sunset to light up the subject (instead of simply getting a silhouette photo).
Still, this will only work if you are close enough to the subject and if you know how to process the photos later to return some of the warmth to the subjects.
So, what should you do if you want to get photos but there isn’t enough light? You would need to get out of auto mode and start adjusting your camera settings. You would have to manually increase your ISO (with moderation, to avoid to much grain), open your camera aperture wide, and slow down the shutter a bit.
Some phones, including my Google Pixel 3a, have a “Night Sight” function that works similarly.
Are photos still not coming out right? Then put your camera away, be present, and simply enjoy the moment.
Shoot Raw
This is one of the most important aspects that most people do not know about.
What shooting RAW means is that the camera will not do the processing for you. You will do it later using better editing software.
Most cameras, and even advanced phones, have the option of shooting RAW images. For the most part, phones and cameras allow you to save the RAW unprocessed photo as well as a camera-processed JPG.
With RAW files, you can customize your image a lot more than simply editing a JPG. Why? Because RAW images save every bit of information in each pixel captured. RAW files are quite a bit heavier though, so make sure you keep this in mind in terms of memory storage.
On the contrary, camera-processed JPGs have already lost a lot of information that the camera’s processor deemed unnecessary. While this makes the file much smaller, it also takes away the option of customizing your shot.
Forget Auto Mode
Cameras are amazing, but they still don’t have your eye. They do not know the mood of the scene, or what exactly you are trying to capture.
Learning to work with the settings of the camera, even the most basic ones, will VASTLY improve your photography.
You will be left wondering why you did not start before!
Before jumping into full manual mode in your camera, start experimenting with aperture mode or shutter mode.
Aperture Mode
Aperture mode means that you will decide how open you want your lens to be, while the camera decides how fast to operate the shutter. This mode works well for most situations, as long as you also pay attention to your ISO.
For the most part, you want a large aperture (low F-stop) when shooting close subjects and portraits. If you are using your phone, then selecting “Portrait Mode” is essentially using a large aperture. It results in shallow depth of field and a nice, blurred background.
When shooting landscapes, you want a small aperture (high F-stop) to most of the scene in acceptable focus. Some phones will have a landscape mode that will achieve similar results.

Shutter Mode
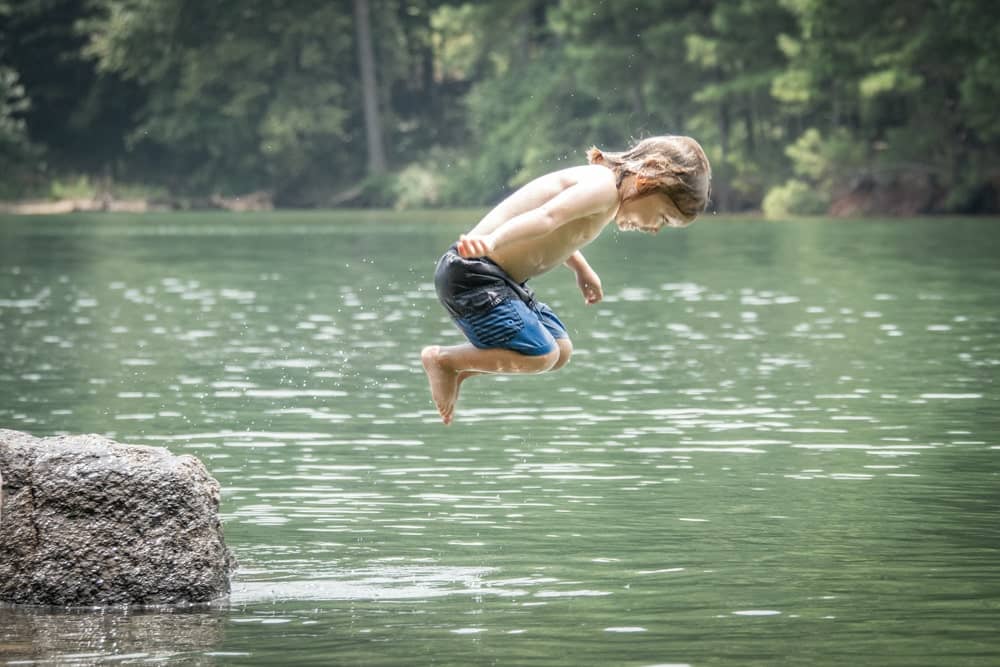
You can experiment with shutter mode if you want to freeze action, such as your child in mid-air jumping into a lake, or a bird in mid-flight. In those instances, you want a fast shutter speed and high ISO.
Some phones will have a “Sports” or similar mode that freezes the action in the same way. If you use continuous shooting on your phone, you will also be accomplishing the same thing.
If you want a trail of movement, such as when taking photos of waterfalls or even fireworks, you can use low shutter speeds and low ISO. In those instances though, it is imperative to set the camera down on a steady surface or a tripod.
Composition
Rule of Thirds
If there is one thing everybody knows about composition, it is the famous rule of thirds. It is, in my opinion, the simplest concept in composition, and one that will improve your shots by leaps and bounds.
So, what is it? It basically means that you do not want to put your subjects in the middle of the shot. When shooting landscapes, it means not putting the horizon in the middle.
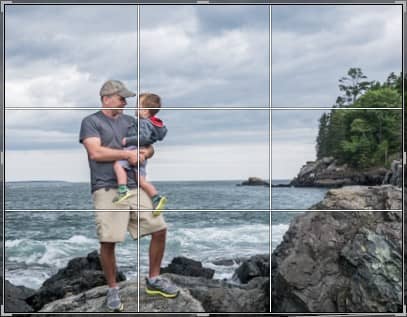
Instead, you want to divide your field of view into nine quadrants. You will then pay attention to the lines diving those quadrants. Your main subjects should be placed in the intersection of those lines. Your horizon, when possible, should be placed in the top third or bottom third.
This is quite easy to accomplish if you set the display in your camera to show the grid while taking your shot!
Cut Down on the Cheese
We all know how much we love our children’s fake smiles…said no parent, ever! Stop forcing them to smile for you, or at least keep it to a minimum.
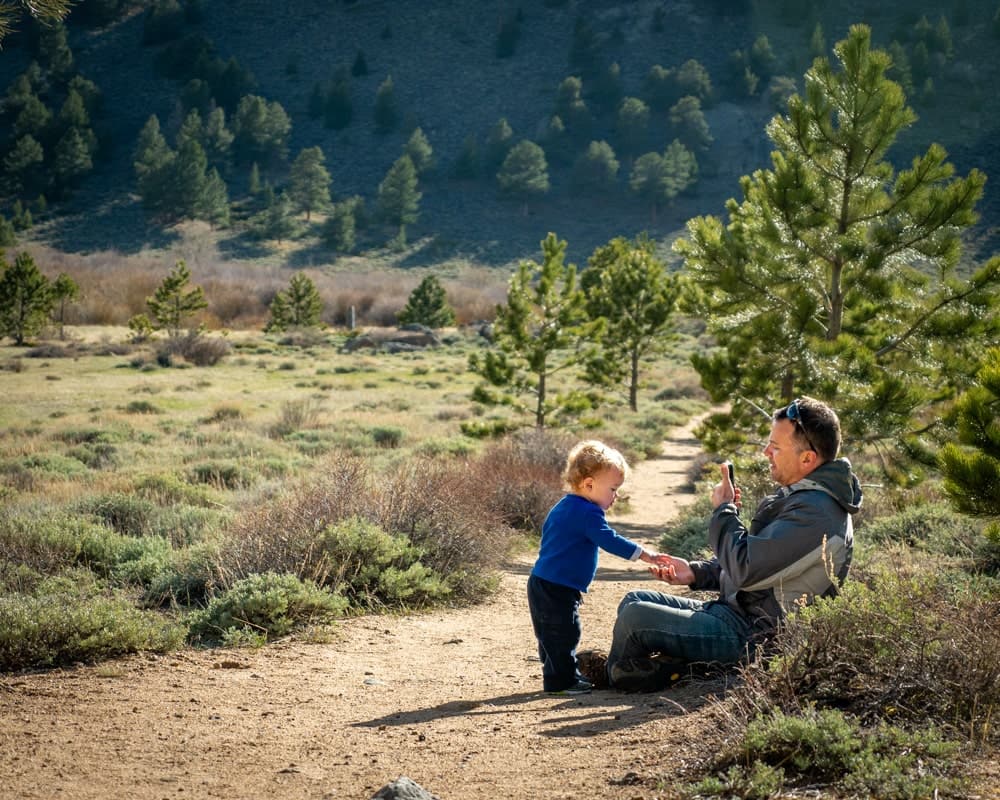
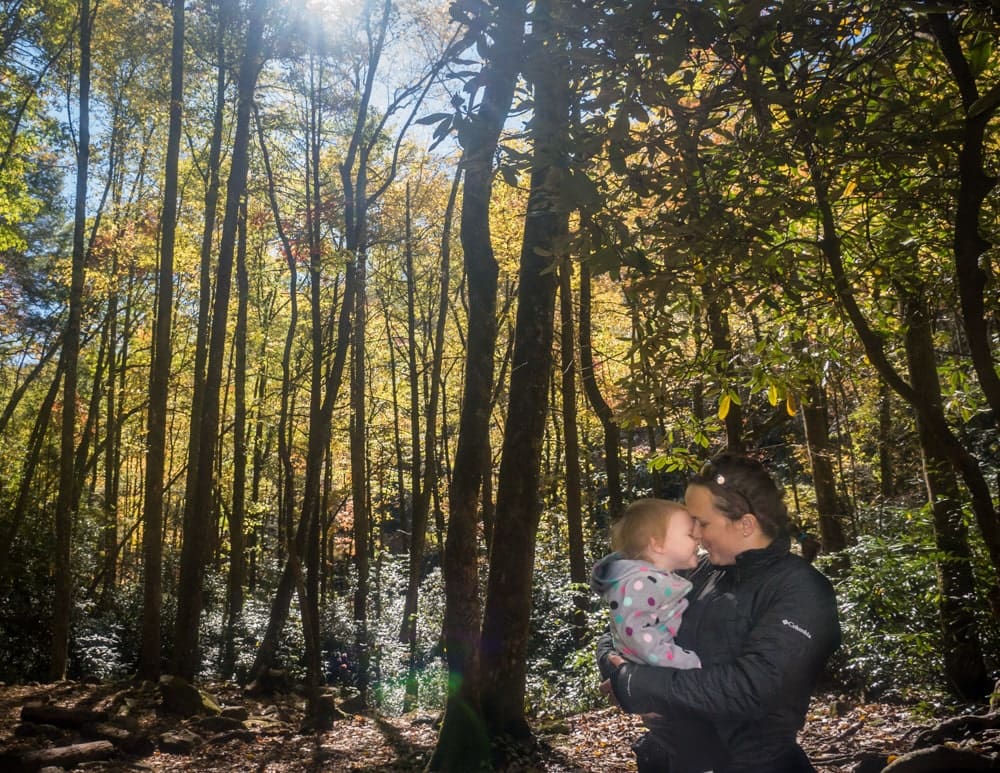
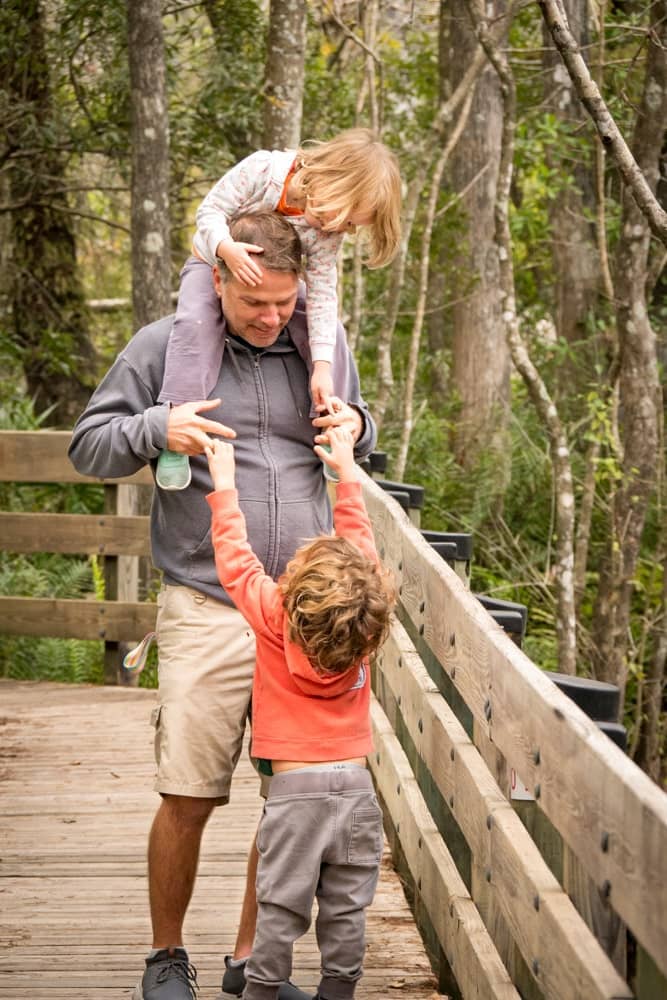
Nothing beats the candid photos that you can capture when you simply allow your kids to enjoy and explore their surroundings.
Let your family be genuine. Work on your ability to capture those moments instead of making them face you and show you their teeth…
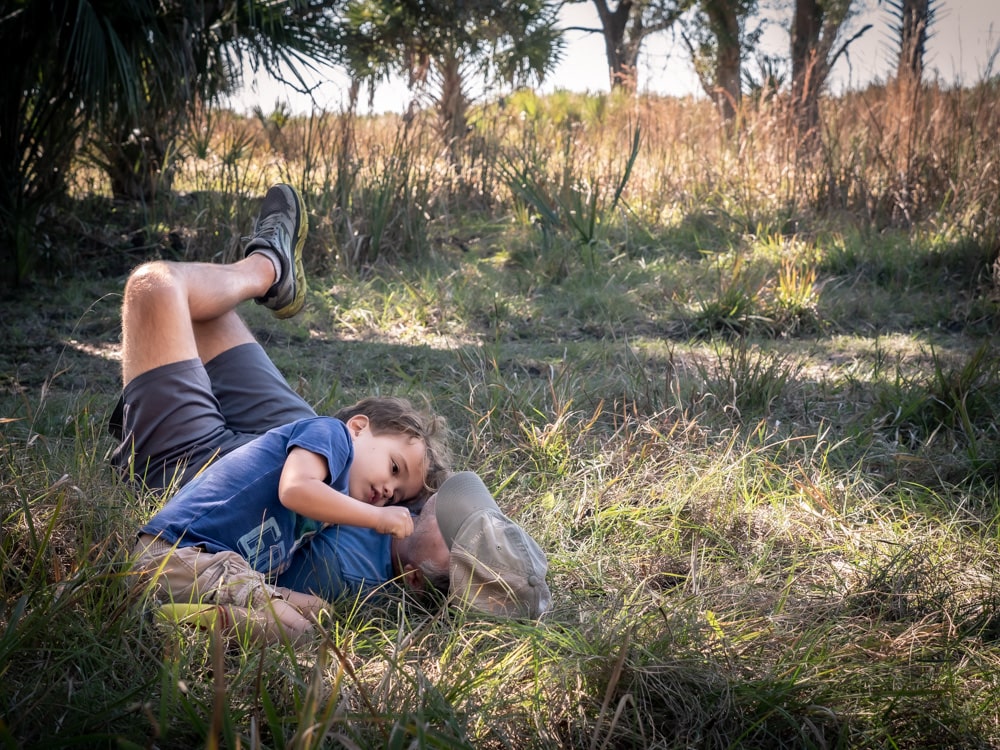
Change your Angle
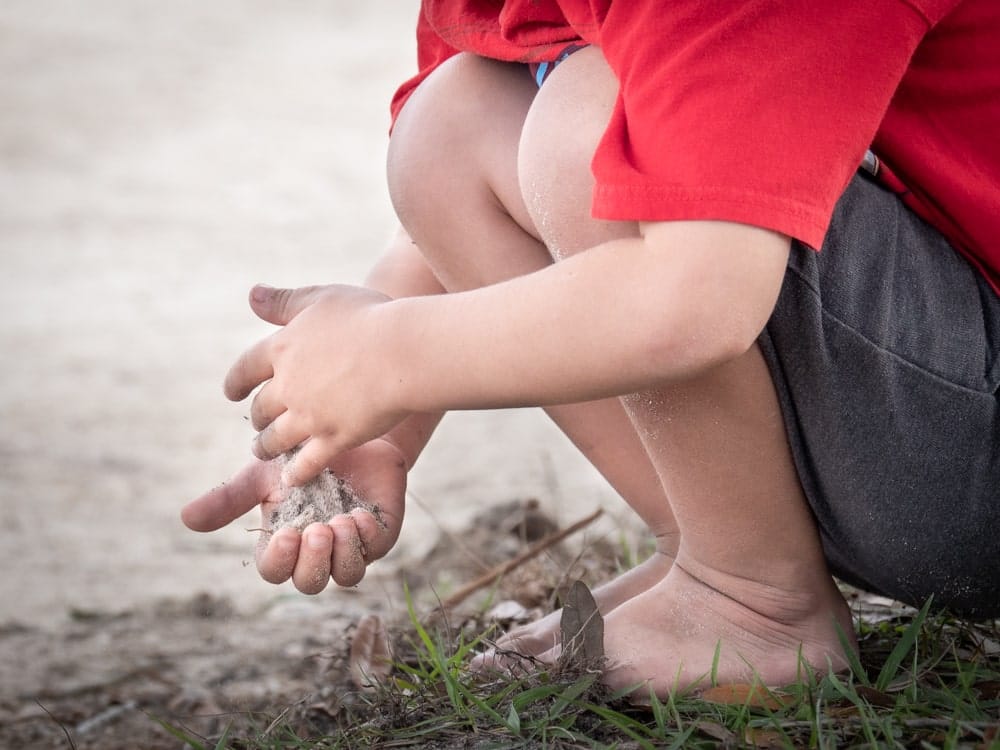
Avoid shooting from the comfort of your standing position, particularly when you want candid photos of your family.
Put those quads to work and get low. See and capture the world from the perspective of your kids. This is one of the easiest ways to get amazing photos.
Sometimes, you just want to get high…
Don’t worry! I am still talking about camera angles 😉 You can use a tripod or get up on your tippy-toes. Shoot straight down and capture the action that way. This is great for getting photos of your kids playing or eating!
When to get Close
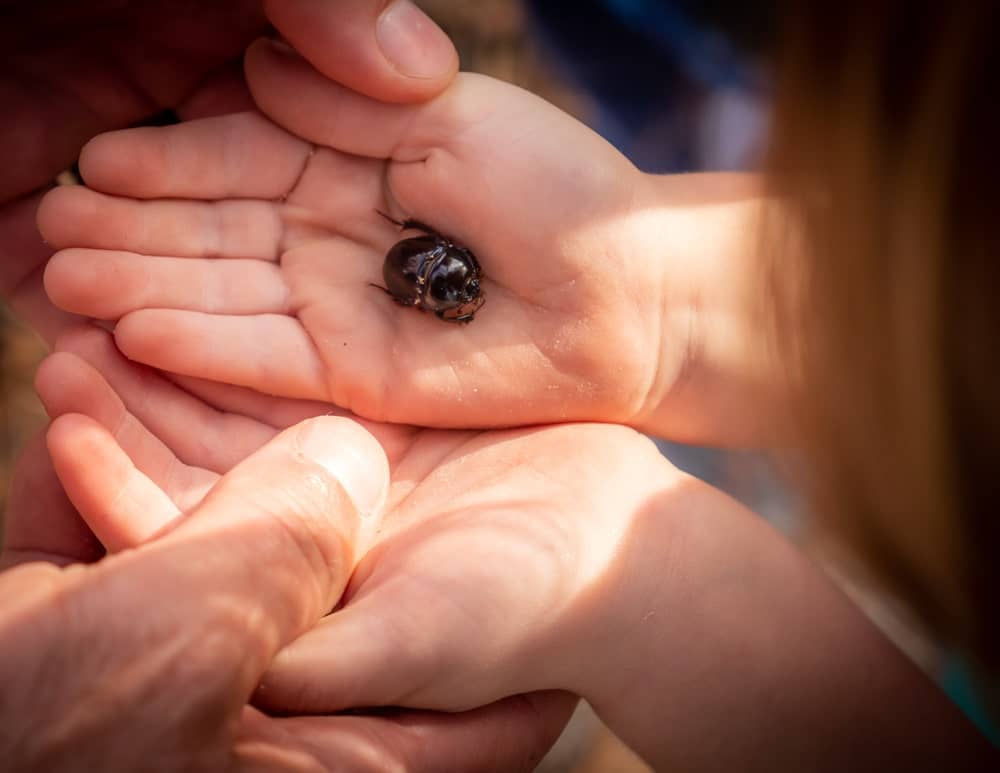
Not all photos have to include faces. And not all trip photos have to include vast landscapes.
Get creative and zoom in on the action. Sometimes, it is the little things that your kids enjoy and will remember the most. Make sure you capture those moments.
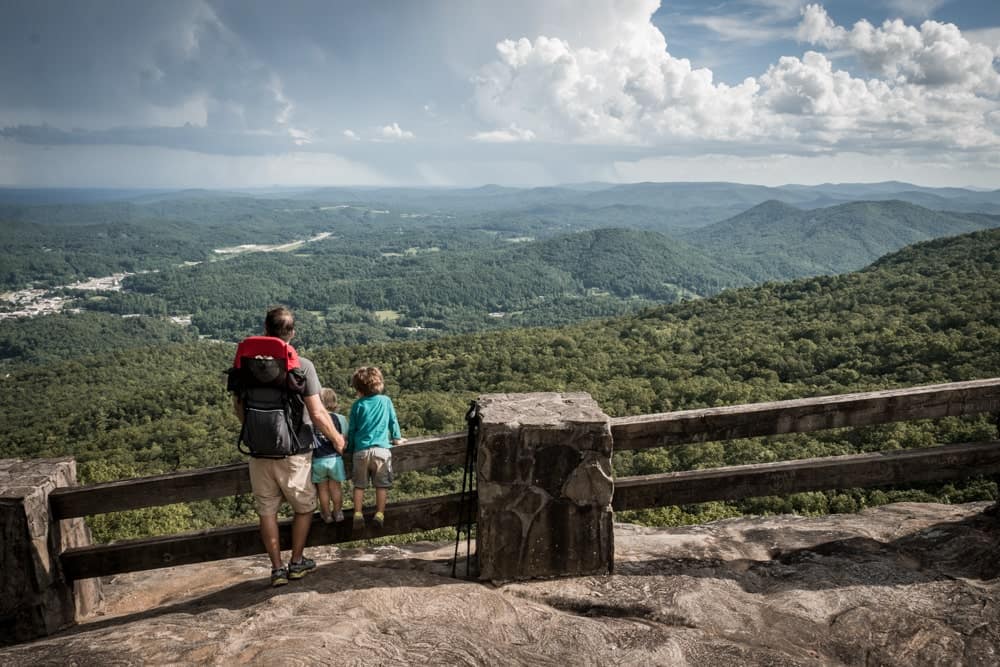
When to get Far
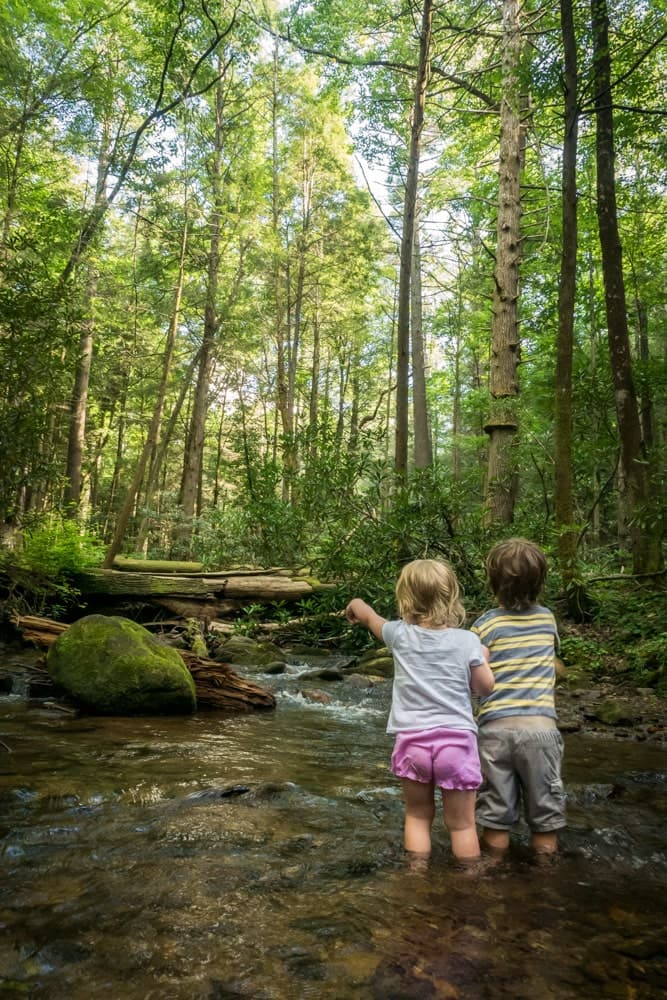
When taking photos of the places you visit, avoid simply posing everybody in front of the location.
Instead, you want your family to be part of the scenery by catching them in the act of enjoying their time.
Related: What is Vantage Point in Photography and How to Use it
Editing Process
Photo Selection
The process of editing photos can take a long time, so you have to be very picky about which photos deserve the time and effort.
The first thing to do is delete all the photos that are duplicates or that simply did not turn out great. I use two criteria when choosing which photos to keep:
- Would I want to display a large print of the scene?
- Is this photo capturing a memorable family moment?
If the answer to at least one of these questions is YES, then the photo is a keeper. If the answer to both is NO, then delete.
If you answer YES to Question 1, or to both, then that photo can move to the editing process.
If the answer is NO to Question 1, but YES to Question 2, then I will probably keep the photo, but I will just use the camera-generated JPG and not process any further.
Editing Programs
I already spoke about shooting RAW images. As great as your camera may be, it may still not be able to catch the colors or the scene accurately. For photos that met at least Question 1, then the next step will be to process the RAW file.
There are a few free programs to do that on your phone. I have used Snapseed and Lightroom, which have quite a bit of customization and tutorials.
For your desktop, the best photo editing software programs are Photoshop and Lightroom; however, these programs are not free. But fear not! There are a number of free alternatives you can look into, including Darktable and GIMP.
If you think shooting RAW is a lot more work than you intend to do, then these programs will also work for editing standard JPG files.
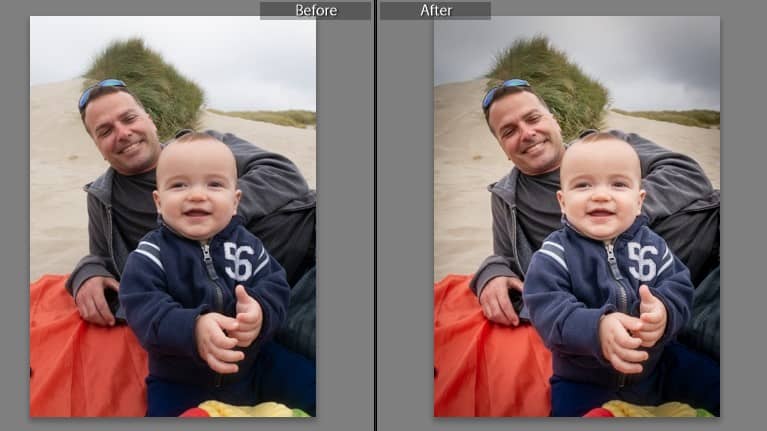
Simple Editing Fixes
Giving tutorials on photo editing is well beyond the scope of this article. After all, it is intended for non-photographers!
That being said, here are a few things you can play with using the free programs mentioned:
- Crop the image to meet the Rule of Thirds
- Adjust the exposure to make the image lighter or darker
- Increase the temperature of the photos a touch, especially when taken in broad daylight.
- Reduce highlights
- Lighten the shadows
- Increase clarity a touch, but don’t overdoit!
- Add some vignetting
When I am short on time, these are the minimum adjustments I check. If I have more time, or if I see photos that have a lot more potential, then I will check and adjust other settings.
Share and Display the Adventure
Now that you have taken amazing photos of your adventure, it is time to do something with them! What you do is entirely up to you.
You can also simply create digital albums in Shutterfly or Dropbox, and share your favorite ones in social media if you desire.
Photo books are my favorite way to display our family travel photos. Photobooks are so versatile that you can use them for more than just travel photos! Take a look at this list of ideas for photobooks.
Do not forget to display your work with pride. Pick one or two of your favorite photos and make a large print. Set it up on a wall, and start making your very own collection of stunning family travel photos.
That’s it!
I hope this gives you enough information to start taking amazing family travel photos, regardless of the equipment you bring with you.
Now, start preparing for your next adventure, and grab yourself a FREE copy of my kid’s packing list while you are at it 🙂
PIN FOR LATER!


Thanks for sharing these tips. I got a DSLR for Christmas and I am keen to learn how to use it to take amazing family pictures.
I have bookmarked this page for future reference. It is loaded with useful information for an amateur like me.
Thanks.
Yay, how exciting! There is so much you can do with it, and you will notice a huge difference between your camera and your phone pictures 🙂 I’ll try to come up with more posts about it. Let me know if you have specific questions, and in the meantime, have fun with it!
Thank you so much for these tips, I love taking photos on our family adventures so am looking forward to trying these out.
I am glad you found these helpful! I am confident you will notice an immediate difference in the quality of the photos 🙂