Are you getting started with photography? If so, you probably noticed photography involves many details and technicalities. While studying different aspects of photography to work on your craft is a good investment of time (and money), there are changes that you can implement rather easily to vastly improve your compositions.
One of the surest ways to improve your photography skills is to simply learn to change your vantage point and use different vantage points to change the tone of your photos.
In this article, you will learn what the different vantage points are, and how to easily implement them in your compositions. You can dramatically change your composition and the quality of your photography with just a few simple tips!
This post may contain affiliate links. Visit the Disclaimer page for more information.
What is Vantage Point in Photography?
To make this easier to understand, you can simply substitute “vantage” with the word perspective. A vantage point refers to the position that someone looking at the picture will feel they were viewing it through your eyes; it’s a change in angle, lighting, and camera position in correlation to the subject.
Vantage point changes make your subject seem lit from above, taller than anything else, smaller, brighter, etc. You can completely change the tone of the photo by changing the vantage point.
Why Is Vantage Point Important?
A photo can tell a story. It is interpretive art in many ways.
A simple change in the vantage point can entirely change the composition of a photo. It can make you feel empowered when you look at a photo. Likewise, it can feel as if the world is much larger around you, according to your vantage point.
These vantage points evoke different emotions entirely, allowing you to play with the emotions of your audience to some degree.
For example, each person might view the same photo taken on an African safari and feel a different emotion while viewing the lions. One might feel as if they are the prey the mighty predator is staring at intensely. A change in vantage point might change the interpretation of the photo entirely. With the vantage point changed, you’ve now become a part of the pride, taking part in the hunt.
These methods, when you learn them and practice them, will come in handy even when taking photos of your family vacation, landscapes, and documenting the school year with your children.
Types of Vantage Point and How to Use Them
In this section, you’ll find more detailed information on the three vantage points and learn when and how to use them.
Low Vantage Point
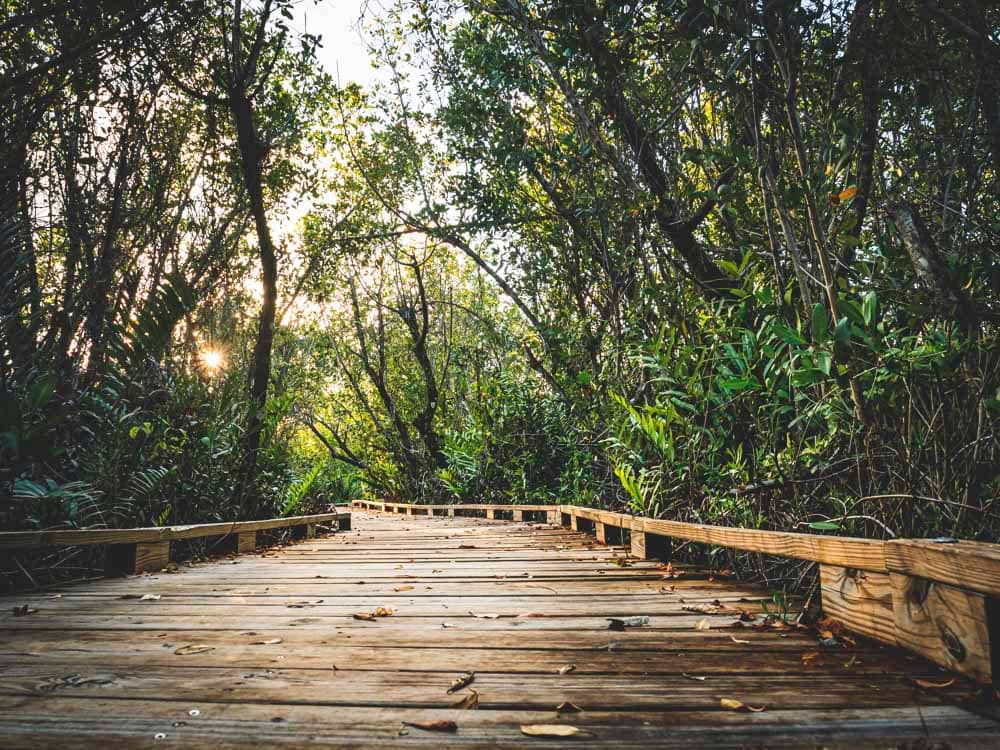
Photos taken from a low vantage point can make your subject appear larger than life. With this vantage point, photos can have a magical or wondrous feeling. When you take a photo from the lower angle of Low Vantage point, your subject can completely fill your image.
This is not possible when using other vantage points because they don’t allow you to catch the subject face-first in the same way. A bold and brave approach, a low vantage point indicates your willingness to get close to your subjects and put yourself right in the line of fire.
This vantage point is excellent for images that show the movement of the focal point, such as a runner, a puppy, or a toddler. In nature photography, it is also useful for macro photography, or when taking a photo of a tree from below.
How Do I Use a Low Vantage Point?
A low vantage point required that you get down and dirty!
- You may find yourself on your stomach, at eye-level with a puppy when using this vantage point.
- Some people have made a hobby of creating life-like scenes with dolls and toy villages and using low vantage point photography to breathe life into them.
- Get up close with flowers and show the sky in the background.
- Show the perspective of a ladybug and what they see.
- As I mention in this article on taking better family travel photos, this is a great way to get beautiful shots of your kids playing.
Examples of Low Vantage Point

High Vantage Point
A high vantage point is an interesting one, as it can evoke different emotions.
For example, it can give the audience a feeling of looking over their kingdom. It can evoke a sense of power and render the viewer awestruck at the landscape before them.
This high perspective can also evoke the opposite feeling. Looking at compositions from a high vantage point can put into perspective how small we are in the large scheme of things. Indeed, it has the power to show us the magnificence of the landscape around us. Likewise, the high vantage point can be used to point out that even an apex predator is quite small in terms of the size of the world around him.
This is the best vantage point to choose when attempting to photograph something very large, such as a cityscape, large natural formation, or a landscape.
Practical ways to get a high vantage point
As you may imagine, you will have to get as high as you can to capture the entire spectacular view. Finding a high vantage point can be a bit tricky because a lot of it involves, well, climbing.
- If you want to make the audience see the vastness of a wilderness, climb a tree, and capture the highest vantage point that you can find.
- When applicable, you can climb on your car to get a new angle.
- Hiking to the top of a trail on a mountain is an easy way to get that high vantage point image that you’ve been dreaming about.
- If it is in your interest, you can get a drone!

Examples of high vantage point in nature photography
Iconic images that use high vantage point imagery are most often seen in nature as images of mountain lakes and the valleys they inhabit between the massive peaks of ranges such as the Rocky Mountains in Colorado.
Capturing the incredible size of a herd of gazelle in Africa might be captured via the rooftop of a safari vehicle or even from a portable stand to climb to heights above the savanna grasses.
The single Cheetah, strolling the savannah from so far away that they are dwarfed by their surroundings, tells a story of lone Cheetah vs. nature. It is dramatic and breathtaking. Showing the way in which he is perfectly camouflaged in his surroundings is also chilling.

Eye-Level Vantage Point
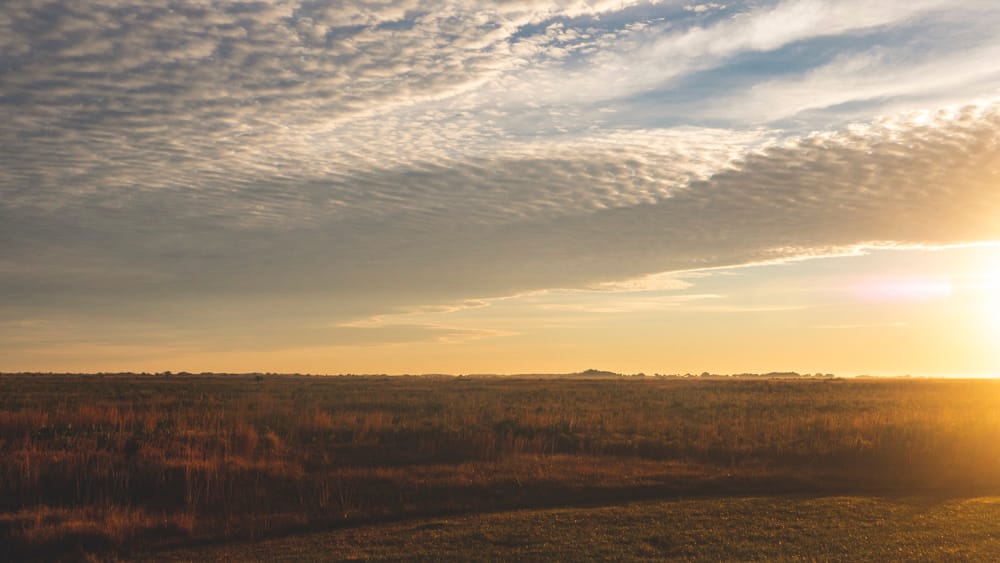
The eye-level vantage point meets your subject head-on. This vantage point allows you to bring your viewers into the photograph, feeling as if they are seeing an image directly in front of themselves; something you can touch and experience.
An eye-level vantage point works when you want to connect with the subject. It is a perspective that welcomes the audience, as you bring your subject into the photo in a way that engages the viewer.
Times to use eye-level vantage points are when you want the viewer to move to action, to feel a kinship with your focal point, and when you want them to feel as if they can walk into the photo from where they stand.
Some of the most dramatic photos taken are black and white photos that show the charged emotions of anger, grief, and other emotions that evoke a response in the audience.
How Should I Use an Eye Level Vantage Point?
This is an easy vantage point because you do not need specialized equipment. Nevertheless, you will need to be creative in your composition to make your photos stand out.

- Use a tripod in order to play with your settings thoughtfully.
- Play with focal distances to get different depths of field.
- Look for interesting visual elements to improve the composition.
- Consider long exposures to get soft, dreamy textures in your shots.
Examples of eye-level vantage point in nature photography
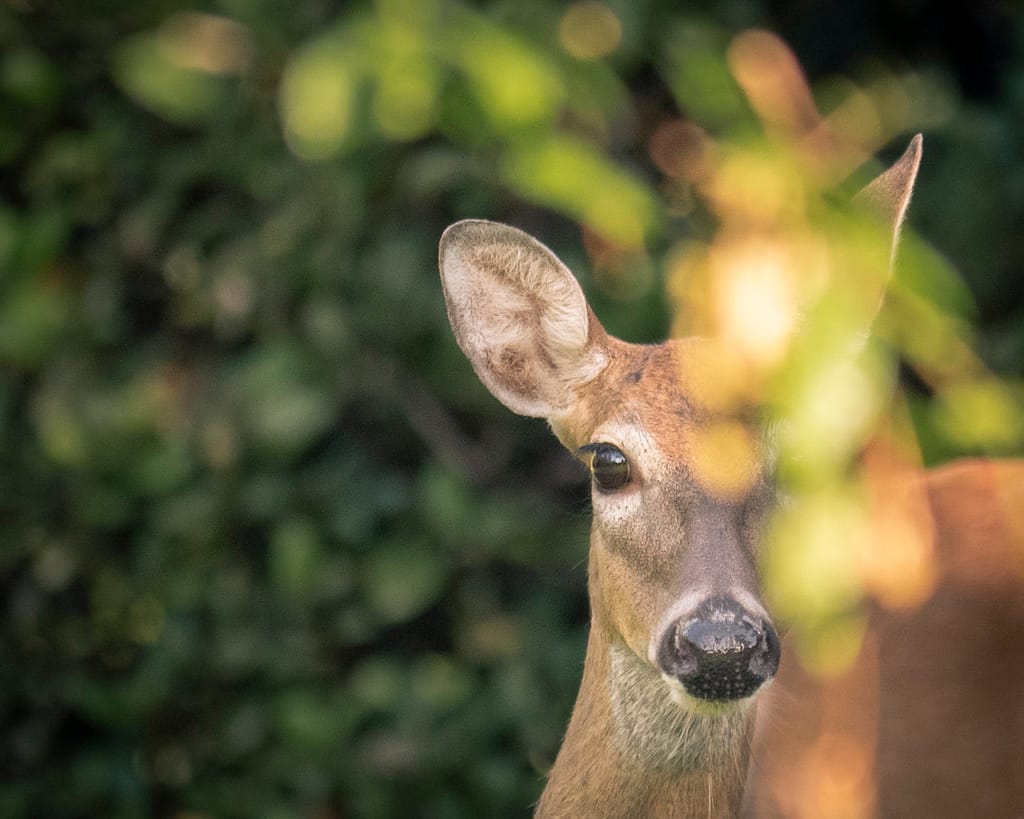
A deer, making eye contact with you from the backyard is a perfect time to use eye-level vantage points to create a link between the animal for anyone who looks into the photo. In fact, people no longer look at the photo, they look into it.
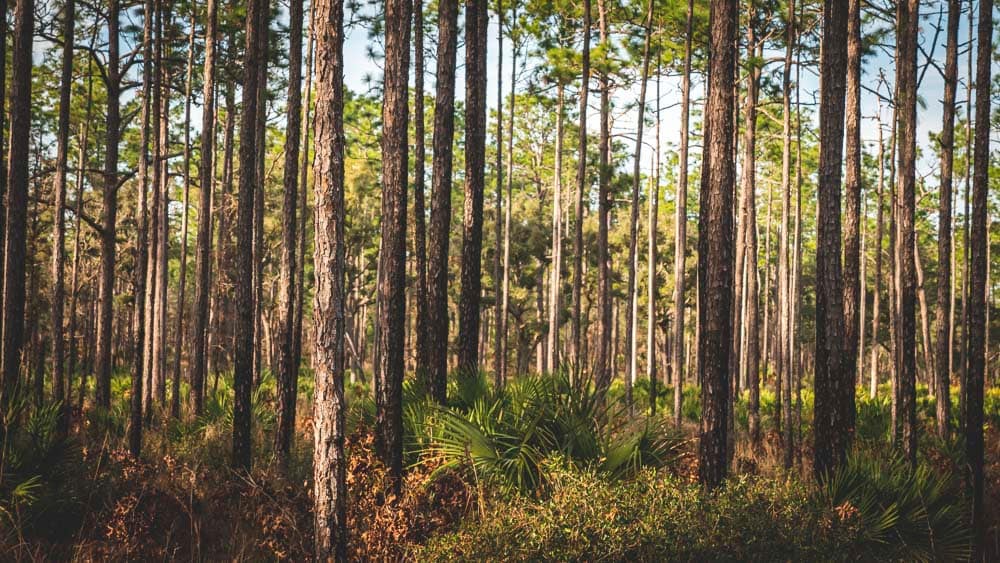
Some more examples of eye-level vantage point would be looking through a forest, nature trail, mountains, and lakes.
You can also capture your favorite moments best at eye-level. Your toddler taking their first steps at their eye-level, your elderly parent blowing out the candles on the 85th birthday cake, or your teenager in her prom dress for her first big prom dance.
Do you Need Special Camera Gear?
No extraordinarily expensive equipment is necessary to begin taking your photography to higher levels. It’s a hobby that most can enjoy. Start with your cell phone. Acquire a used digital camera as your interest grows.
With camera-equipped cell phones in the hands of virtually every American, more people are taking photos than ever. Digital images can be very good. In fact, some professionals have even used iPhones to film short documentary films with amazing camera quality.
This means that anyone who can learn vantage point photography is able to take high-quality photos, capturing unique images in any location.
Once you graduate from taking excellent photos with a simple cell phone camera, you’ll want a better camera and gear.
- Invest in a camera that can grow with you, allowing you to swap lenses as you expand your abilities. Mirrorless cameras or a micro-four-third camera are great starting points. While smaller than DSLRs,
- If swapping lenses is not on your radar, then consider getting a camera with a long zoom range like this Lumix FZ300. While you will not get DSLR quality, you can begin playing with different exposure settings, lighting, focal depth, and more.
- A tripod will be an important piece of equipment to add to your arsenal. This will allow photos taken from lower vantage points near the ground while keeping your camera stable. Armed with a tripod and a remote shutter, you will be able to capture yourself and your family from a high vantage point in front of a vast landscape.
- You can also consider using drones for high-quality aerial shots. Drone photography is booming because of the unique angles it provides. Surprisingly, starter drones are not as expensive as you would imagine. Yet, before you invest in a drone, make sure to check the drone laws in your state and the locations you intend to use them.
Final Thoughts
Improving your photography, just like with any craft, is a lifetime endeavor. You may take courses, or you may study alone, read books, and follow blogs that help you to learn the craft. You can be as serious as you wish to be, or simply use it as a way to kill time when you are bored.
These are some of the beautiful things about photography. Whether you consider it a way to pass the time or a fully-formed hobby, anyone can take part. It’s an art form that doesn’t require drawing abilities or the ability to paint. It requires your imagination and your willingness to learn some essential lessons on how to create perspectives with images.
No matter who you are, you can learn the basic skills to become a good photographer. It’s not a natural talent, it is a skill that can be honed. If you can learn some of the things in this article and put them into practice, you’ll already be well on your way to being an excellent photographer.
We hope you have found this article useful. Do you have any topics in mind that you want us to write about? Let us know!

