I get it. It is difficult having to stay indoors when you enjoy nature photography. Yet, there are times when going out is not ideal.
I am writing this during times of social distancing due to the Covid-19 pandemic. You could also be stuck home with a sick child, or maybe you are sick yourself! Maybe there is a snowstorm. Too hot. Too rainy.
You get the idea.
Whatever the case may be, you may be wondering what you can do to stay productive with your photography. In this article, I summarize 9 stuck-at-home photography tasks to make the most out of your time indoors!
“Stuck at Home” Photography Tasks!
1. Read your camera’s manual
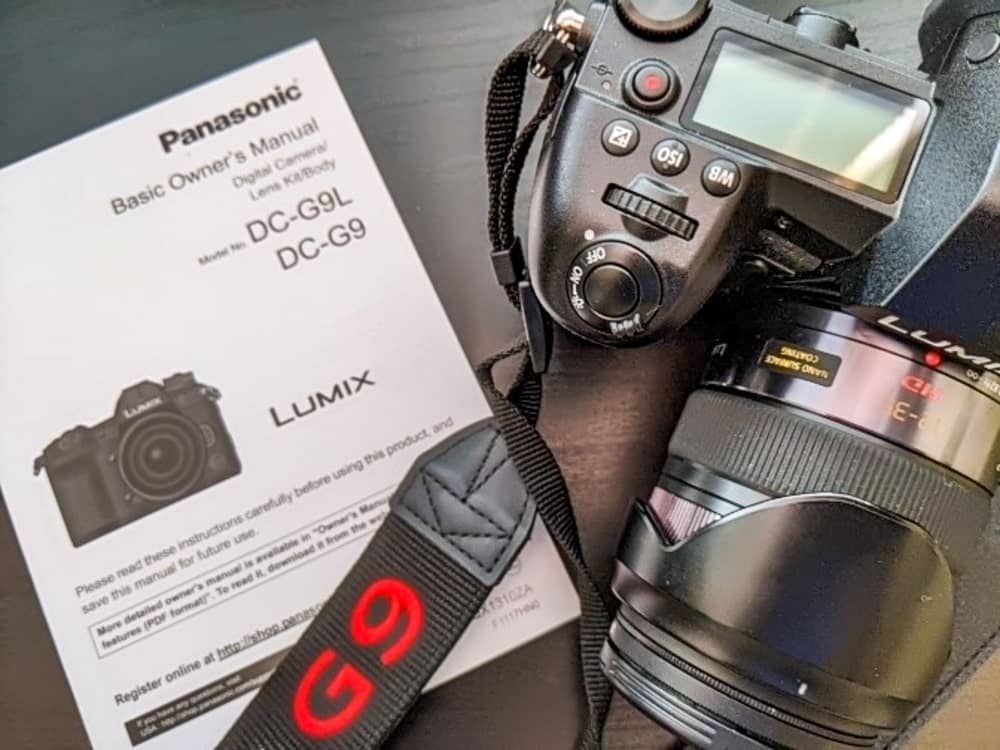
I recently learned about back-button focusing, and I had to dig into my camera’s manual to learn how to apply it. The same when I attempted to do night photography.
Your camera, regardless of whether it is a point-and-shoot or a full-frame DSLR, probably has TONS of features and menu selections you have yet to discover.
Use this time to study your camera. This is the best way to ensure you will access the appropriate settings for your scenes!
2. Study tutorials
Do you know everything there is to know about hyperfocal distancing? Back-button focusing? What about photo-editing using Lightroom or Photoshop?
I have been doing photography for 8 years as a hobby, and I still have a LOT to learn. This is a great time to study photography techniques that I will be able to put into practice the next time I can get my camera out!
Similarly, there are so many features I have yet to explore in Lightroom. I can still find many tutorials on ways that I can use photo processing creatively!
Related: What is Vantage Point in Photography and How to Use it
3. Time for lots of editing!
Are you all caught up editing all of your photographs? I am certainly not. It is one of those photography tasks that is always difficult for me to get to. If you are stuck at home, then this is a great time to get those photos processed!
Also, as you brush-up on photo editing skills, go through some old photos and try to edit them again. You would be surprised the difference it can make!
4. Organize and clean up your catalogs
Another tough one. I am still unfamiliar with how to handle lightroom catalogs, but I have all my folders organized in my external hard drive. How to organize them I think it depends on the type of photography you do. We do a lot of camping and traveling, so I have separate folders for each trip.
One thing you can do in this process is to delete all the photos that did not work before. You probably have multiple shots of the same scene. You do not need all of them! If you are shooting RAW, then those photos are taking up quite a bit of space, each. Take the time to delete the shots that did not make it and make room for better quality ones!
5. Make photobooks
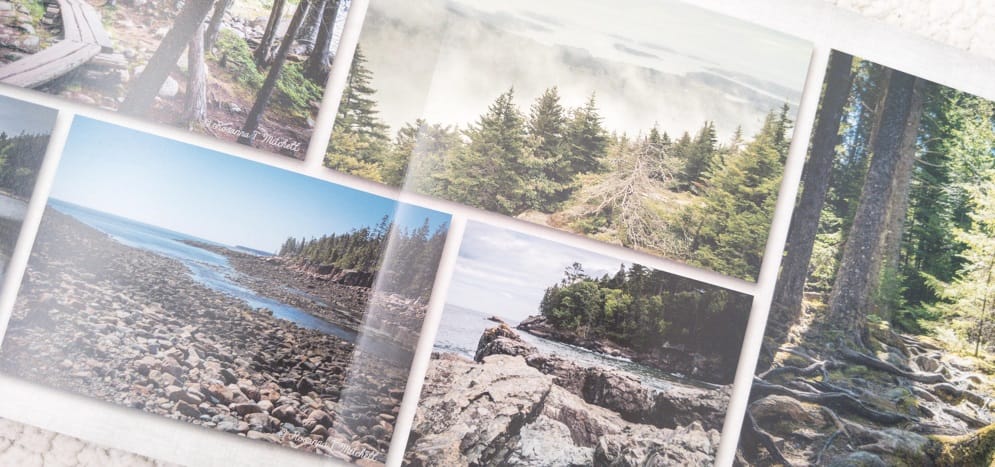
Many people put off making photo books because they can be time-consuming. I am guilty of it as well. Now that I am stuck at home, this is one of the projects I am working on.
Photobooks are incredibly versatile! If you have never tried photobooks before, in this article I give a few photobook ideas.
There are a few websites you can use for this. I have been using Picaboo for many years because they often run great savings and specials. The project editor is incredibly diverse with thousands of customizations. I love their lay-flat pages, which makes the book so pleasant to look at when utilizing large photo spreads! What I do not like about Picaboo is that the project editor can be quite slow and time-consuming.
This year, I am trying out Shutterfly. The editor is quite a bit faster, and I find it easier to move photos and pages around. I have yet to finish my current book, so I cannot comment on the customizations or the quality of the print just yet. Stay tuned!
6. Wall Gallery
Another way to get photos out of your computer is to proudly display them on your wall. There are tons of different layout ideas you can find on Pinterest!
The most difficult part is selecting your favorite photos to display. If you are like me, you may have hundreds to choose from by now!
One way to get started is by choosing the layout first. This way, you can see how many spots you have open, the size of the frames, and the orientation of each photo.
Next, do a bit of elimination by removing photos that are not good quality or that are the wrong size. For example, panorama photos would probably not look great on an 8×11.5in frame.
Lastly, decide on the “theme”. Perhaps you want to do your best photo of each trip you have taken. Or one best photo of each kind – macro, wildlife, landscape, etc.
Do you have space for multiple galleries? Then choose a theme for each one!
7. Gear up! (or gear down…)
Do you want to start digging into different styles of photography? Perhaps you want to look into macro photography or night sky photography. Or your skills have outgrown your starter gear, and you are ready for equipment closer to pro level.
There are tons of options in all sorts of quality and price levels out there. It takes a long time to choose the gear. Now that you are stuck at home, it is a great time to start do some research on the equipment available. You will need to look at reviews, prices, and even consider renting some equipment before actually purchasing it.
This does not need to be limited to camera lenses, bodies. You can also look at accessories that you think could help you, such as new camera straps, or filter pouches, or flash diffusers. I have a list of cheap camera gifts that you can see if they would work for you!
You can also start looking at upgrading your camera bag! I am working on a list of best hiking camera backpacks for us moms. Stay tuned for that summary!
Likewise, this may be a good time to lay out all of your gear and decide what doesn’t work for you anymore. Listing items for sale is time-consuming. Use this extra time indoors to take photos of your equipment, research prices, and list them in the appropriate channels.
Related: 10 Best Hiking Camera Backpacks for Moms
8. Your logo and signature
Do you have a logo already? One that you can use on your website gallery, or as a watermark for your photographs? Making a logo that you are happy about takes time. If you don’t have a logo, or you are not happy with your current one, then now is the time to make a new one!
Having a personal logo or signature will help your audience recognize your work whenever they see it. It is also a mark that showcases your pride in your work!
There are a number of ways you can make your logo. You can either pay someone else to do it, or you can spend some time playing with design software. For A Pragmatic Lens logo, I used the free Canva service. For my photo gallery in PicFair, I used my own handwriting and finished it up in Photoshop following this YouTube tutorial and some other tweaks.
9. Social Presence and Networking
If you have an online portfolio or an Instagram account, then take the time to work on your content. Instagram is a powerful tool for photographers, and it is something I am still learning how to use. Take a look at Instagram themes, set up a good bio, and work on your content strategy.
While you are at it, take a look at your favorite photographer’s profiles. The best photographers share amazing tips and tutorials. They also have a great social presence. Is there something they are doing that resonates with you? How can you apply their techniques to your own style?
Just as important, engage with them! Few people will understand your challenges and struggles as they can. Offer meaningful comments on their work. Request feedback on your own work, too! Some will have Facebook or other groups that you can join and learn from. If you are trying to learn photography on your own, then support groups are vital to improving your photography.
To Sum Up
If you are stuck at home for prolonged periods due to illness or other factors, there are still plenty of things you can do. Stay productive by checking some of these tasks off your list! When you are ready to hit the trails again, you will be glad that you are now more prepared to continue your photography journey!

